If you’re tired of winter (like most of us here on the East Coast) and anxiously awaiting the summer grilling season, then this guide is for you. Read on to get some great methods for grilling your burgers indoors, plus a few grilling “hacks” (like how to recreate that cherished smoky flavor!)
If, on the other hand, you’re loving winter and don’t want it to end… Check out our Winter Resource Page for fun activities like our Snow Day Bingo, Winter Word Search, and Crossword Puzzle; or creative recipe ideas like Cozy Comfort Food or our Build-a-Snowman Recipe Video.
How to Grill a Burger Indoors
Method #1: Use a Cast-Iron Grill Pan
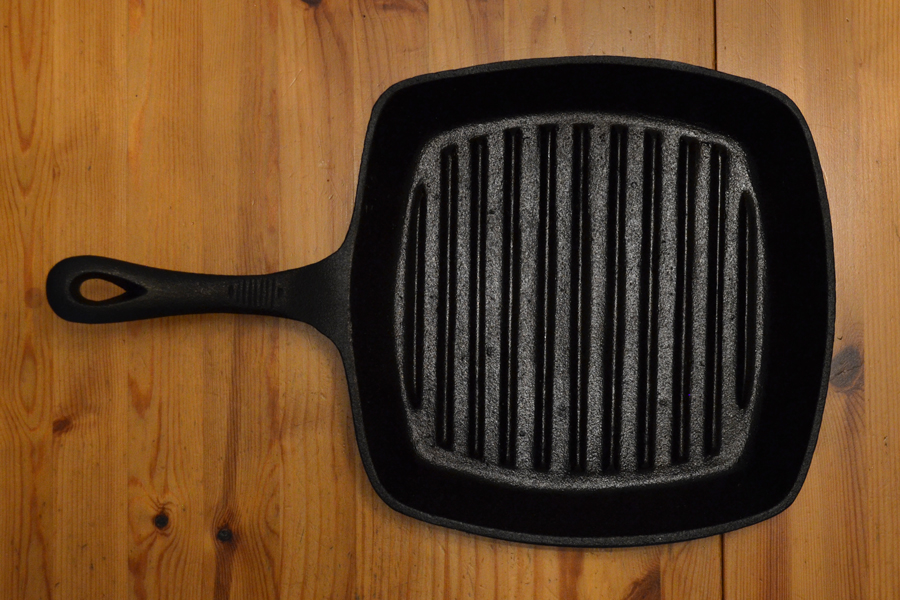
One of the best methods for reproducing your favorite grilled burger indoors is using a cast-iron grill pan with deep ridges. Cast-iron gets very hot and retains heat well, so it works similar to your outdoor grill and allows you to get nice grill marks on your patty as well as a good sear. The ridges on the pan also allow the juices to fall away from the patty.
Method #2: Use Your Oven and/or Broiler
Your oven’s broiler is similar to an outdoor grill, except the heat comes from the top. The intense heat from your broiler cooks your burger quickly and can also give it a nice char. Just arrange your patties on a foil-lined broiler pan or a baking sheet topped with an oven-safe baking rack (something to separate your patties from the drip tray). Broil your burgers 4-8 inches from the heat source until cooked (about 6-8 minutes), flipping halfway through. Leave your oven door open slightly and make sure to turn on a fan or open a window as this method tends to create some smoke.
You can also bake your burgers in the oven (not on broil) on an oven-safe rack on top of a foil-lined baking sheet. This method allows the burgers to cook evenly since air can circulate around them. They also retain much of their juices because there is no searing involved and you don’t need to flip them. This method also allows for easy cleanup and reduces the amount of grease splatter.
Method #3: Use a Combo of Methods #1 and #2
If you still want traditional grill marks, try searing your patties first in a cast-iron grill pan, then transferring to a foil-lined baking sheet and baking them the rest of the way until they reach the desired temperature.
Method #4: Use a Contact Grill or Panini Press
This easy method allows for a very quick cooking time because you are cooking both sides of the patty at the same time by “pressing” it between the two grill plates. Downsides: you may not be able to get much of a sear and depending on the height of the ridges, this method may be closer to steaming your burgers than grilling them.
Indoor Grilling Hacks
Pro Tip #1: Replicate that Outdoor Grill “Smoky” Flavor
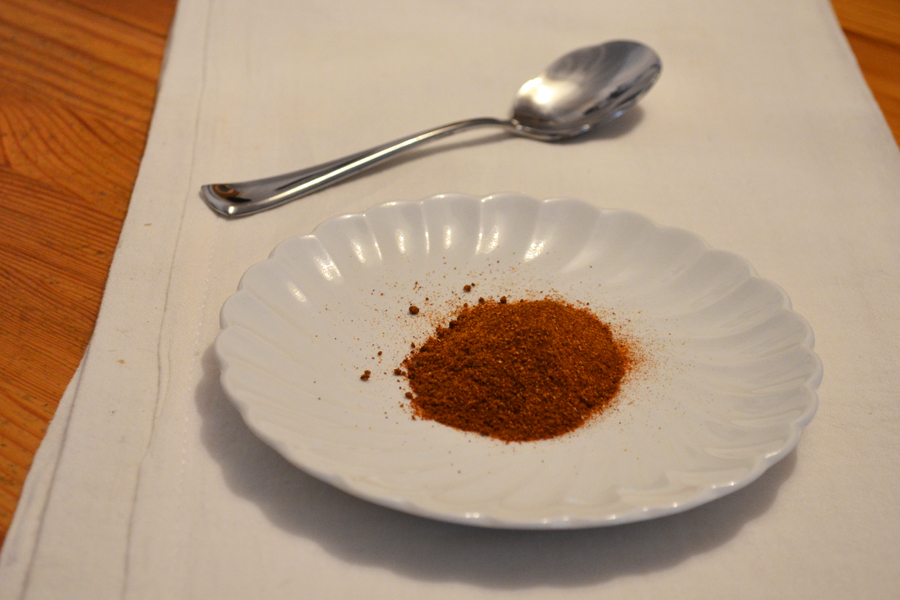
One of the best things about grilling outdoors is the smoky flavor you get from cooking over an actual flame or burning wood chips. A good way to replicate some of this smokiness when grilling inside is by seasoning your burger patty with ingredients like smoked salt, smoked paprika, chipotle chiles, or a few drops of liquid smoke. Or—you can also cook a few slices of bacon, and then grill your burger in the same pan to absorb some of its smoky flavor.
Pro Tip #2: Ventilation (or Try Not to Set Off Your Smoke Detector)
A common problem with indoor grilling is that it can produce a lot of smoke. If you have a kitchen exhaust fan, make sure to turn it on prior to grilling. If you don’t have one, or yours just recirculates the air, you may need to open a window and turn on a fan to prevent the smoke from building up.
Another way to reduce the amount of smoke produced by grilling is to make sure your meat is dry before adding it to the pan. If using a marinade, make sure to pat it try before grilling. Dry rubs and seasonings work great as well because they adhere to the meat. When oiling your grill pan or grate, use an oil with a high smoking point (like canola oil), and rub it on lightly using a paper towel.
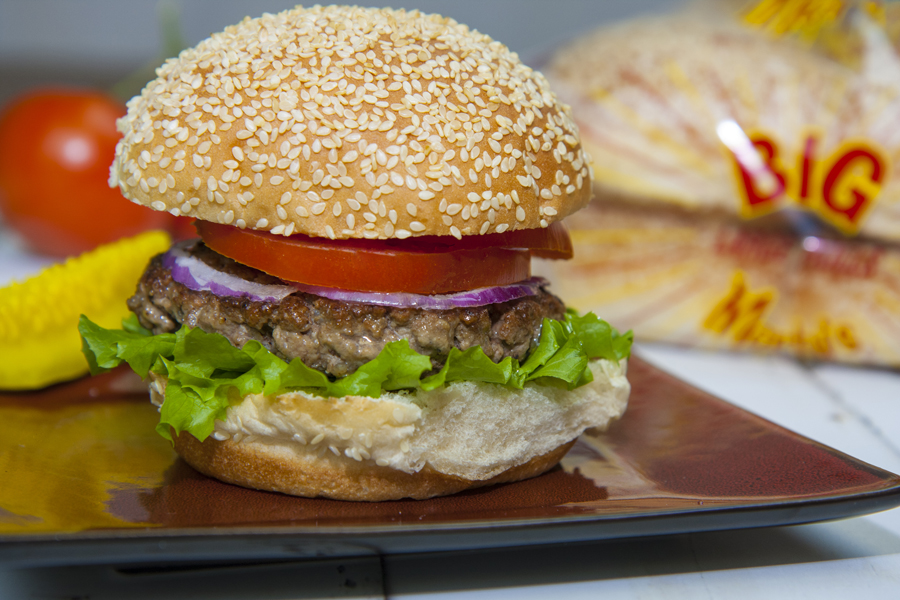
Pro Tip #3: Get Creative with Your Toppings and Spreads
Add some more flavor to your burgers by adding fun toppings like bacon, blue cheese, or secret sauce. You can also try cooking your burgers traditional slider-style by steaming them over thinly sliced onions.
Oven-Baked Burger Recipe
Ingredients
- 4 Martin’s “Big Marty’s” Rolls
- 1 Pound Ground Beef
- 1 Teaspoon Salt
- Freshly Ground Black Pepper
- Additional Seasonings like Smoked Paprika and Garlic Powder
- Optional Toppings:
- Cheddar or American Cheese
- Lettuce
- Tomatoes
- Onion
- Bacon, cooked
- Condiments (Ketchup, Mustard, Mayonnaise)
Directions
- Preheat the oven to 450 degrees F. Place a roasting rack on a foil-lined baking sheet in the oven.
- Season the ground beef generously with salt and pepper. Add any desired spices and combine.
- Divide the meat into 4 portions, forming each into a ball. Be careful not to over-work the meat. Gently form each portion into a patty about ½-1 inch thick.
- Preheat a large cast iron skillet over medium-low heat for 5 minutes. Raise the heat to high lightly grease with oil. Add the patties and cook, turning once, until well-browned, about 2 minutes each side.
- Using a spatula, transfer burgers to roasting rack in the oven and continue cooking to desired doneness (8 to 9 minutes for medium-rare, 10 to 11 minutes for medium, and 13 to 15 minutes for well-done). If using cheese, top burgers during their last couple of minutes of cooking to melt.
- Transfer burgers to a plate and let rest for a couple minutes before serving. Meanwhile, toast the hamburger buns, if desired.
- Assemble the hamburgers with the condiments and toppings of your choice. Serve.
Try these other great grilling recipes!
Buffalo Hot Dogs
Grilled Pepper Jack Chicken Sandwiches
Black Bean Veggie Burgers
California Turkey Burgers
The Perfect Burger
Hawaiian Hot Dog
Chicken Spiedies
Sources
- http://www.epicurious.com/archive/holidays/grilling/how-to-grill-without-a-grill
- http://www.slate.com/articles/life/food/2012/08/indoor_grilling_can_it_ever_compare_to_the_real_thing_.html
- https://www.preparedpantry.com/blog/cook-burgers-rack-oven/
- http://www.foodnetwork.com/recipes/food-network-kitchen/hamburgers-recipe2
Our latest content, delivered straight to your inbox.
Be the first to hear about our newest recipes, tips, and company updates!