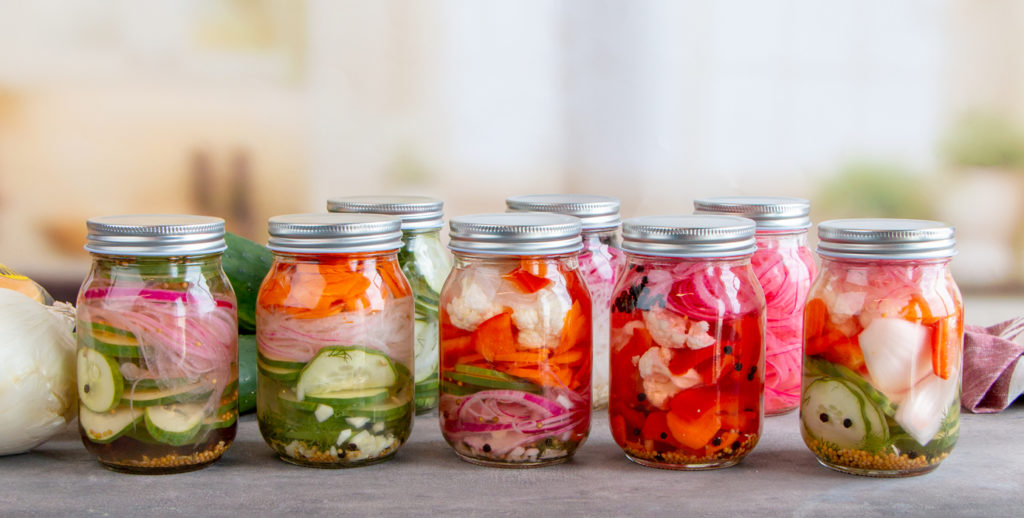
Whether your garden is overflowing with more vegetables than you could possibly consume, you’re looking for a way to “bottle” summer all year long, or you’re just wanting to try something new, pickling is a great technique to add to your culinary tool belt.
Pickling is a preservation method created through fermentation or by submerging food in a vinegar or salt-water brine solution. This technique extends the shelf life of the pickled vegetables, fruits, or other foods, while also enhancing the foods with a uniquely tangy, sometimes sour, flavor. An added benefit of pickling your own produce is that you can adjust the flavor to your liking by incorporating various herbs and spices, sugar, and different types of vinegar.
Learn more about pickling below, then read on for step-by-step instructions and some featured recipes using different types of pickled veggies!
Methods of Pickling
There are four different methods of pickling, each with their own unique benefits and flavors. Read a brief overview of each method below, then scroll down for a deep-dive into one of the easiest and most universal techniques—quick pickling.
- Fermentation: Vegetables are packed in a salt-water brine and left to ferment for several weeks. The salt water environment allows for naturally-occurring microorganisms to convert the sugars into lactic acid (a process called lacto-fermentation) which, in turn, gives the vegetables a complex, sour flavor.
- Salt-Brining: The vegetables are first treated with salt or covered in a salt-water brine to help draw moisture out in preparation for pickling. This is especially useful for vegetables with a high water concentration such as cucumbers, zucchini, and cabbage. After a few hours to a day, the brined vegetables are then rinsed and packed in a vinegar-based pickling liquid for storage.
- Vinegar-Brining: Vegetables or fruits are soaked in a vinegar brine for the purpose of drawing water out of the produce. This process typically takes several days and occurs in several stages (soaking, draining, then soaking again) using a vinegar brine, occasionally in combination with a salt-water brine and the addition of sugar. The processed produce can then be packed in a traditional pickling liquid. This method is often used for soft fruits and sweet pickles.
- Quick Pickling: The produce is placed in a container (it may be fresh, blanched, or cooked until soft, depending on the type of produce), then covered with a heated pickling liquid typically consisting of salt, water, vinegar, and the optional additions of spices and/or sugar, depending on the taste preference. This method is sometimes called “refrigerator pickles” or “fresh pickles.”
How to Make Quick Pickles (a.k.a. Refrigerator Pickles)
By far, the simplest of the four pickling methods described above is quick pickling. This fast-and-easy technique involves minimal preparation and can be enjoyed almost instantaneously. (However, the pickle flavor does become enhanced the longer it is allowed to soak.) Quick pickling is also highly versatile; it can be used for a number of different vegetables and fruits, not to mention a variety of other foods.
What You’ll Need:
- Vegetable(s) of Choice such as Cucumbers, Onion, Mild or Hot Peppers, or Others
- 1 Cup White Vinegar
- 1 Cup Water
- 2 Sprigs of Fresh Herbs such as Dill, Bay Leaves, Rosemary, or Others (optional)
- 2 Garlic Cloves, roughly minced (optional)
- 1 – 2 Teaspoons Whole Spices, such as Coriander Seeds, Fennel Seeds, Mustard Seeds, Black Peppercorns, or Others (optional)
- 1-2 Tablespoons Sugar or Honey (optional)
- ½ Tablespoon Salt
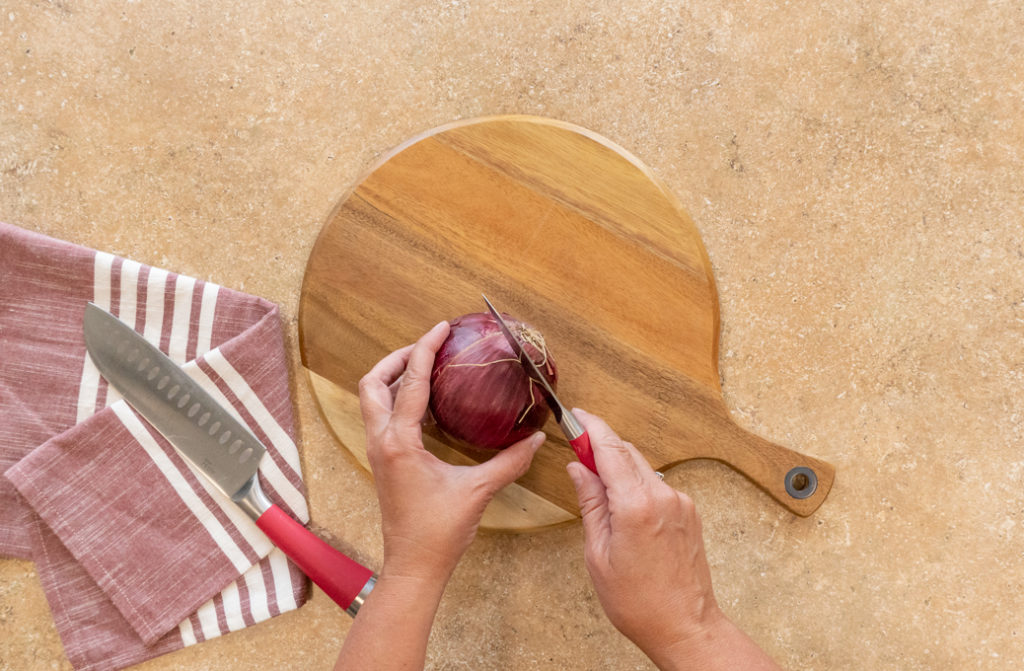
Steps:
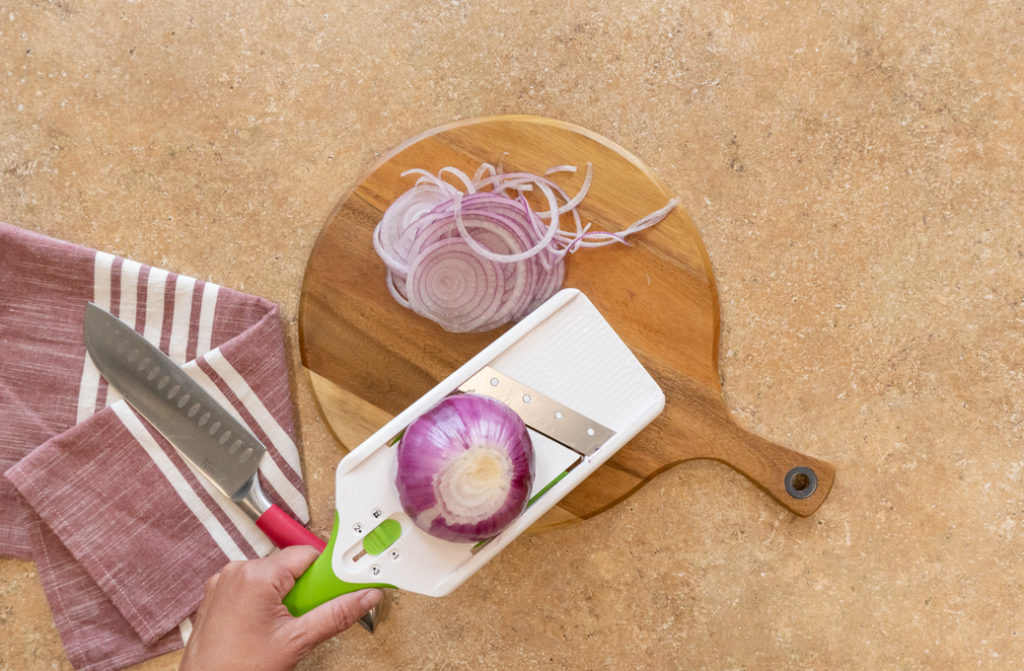
- Cut vegetables to desired size for use. Be sure vegetables will easily fit into jar.
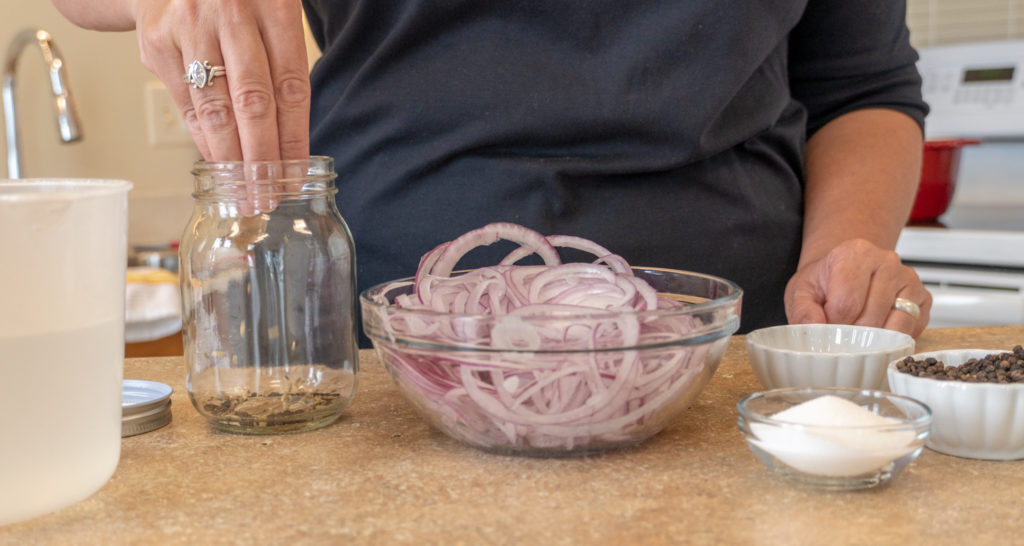
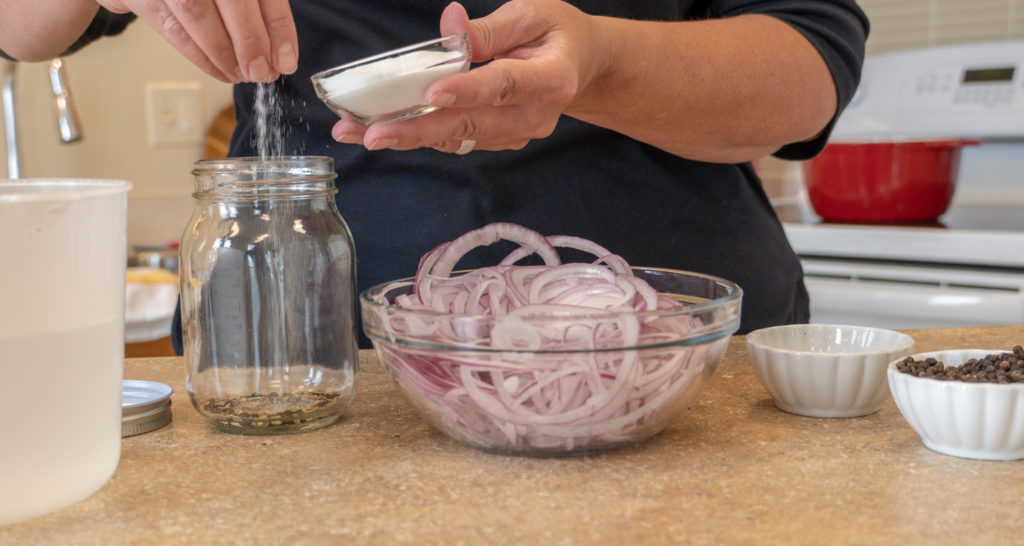
- Divide desired spice(s) among the jars. Add a pinch of salt to each.

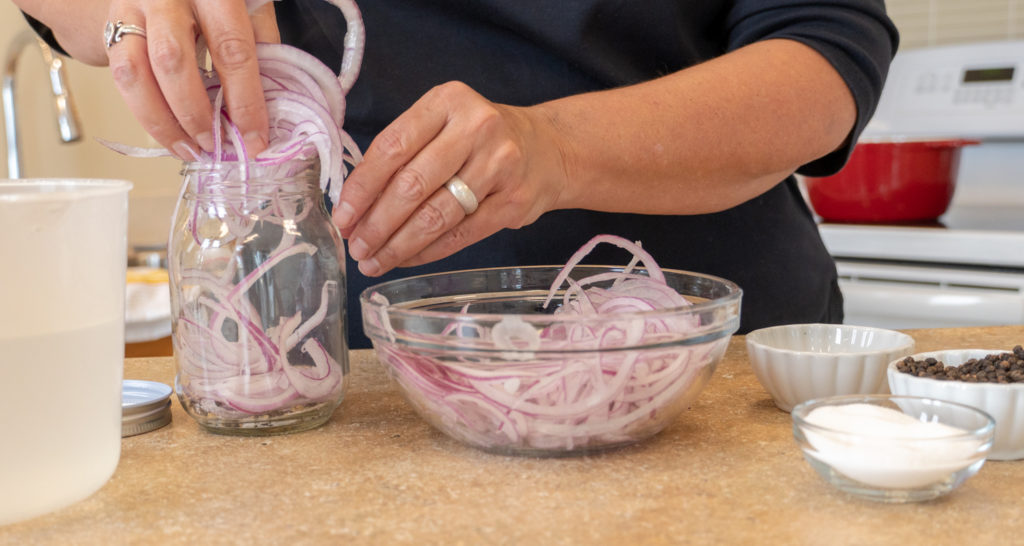
- Pack vegetables into jars leaving ½ inch of space from top of the rim. Pack the vegetables tightly, but do not smash.
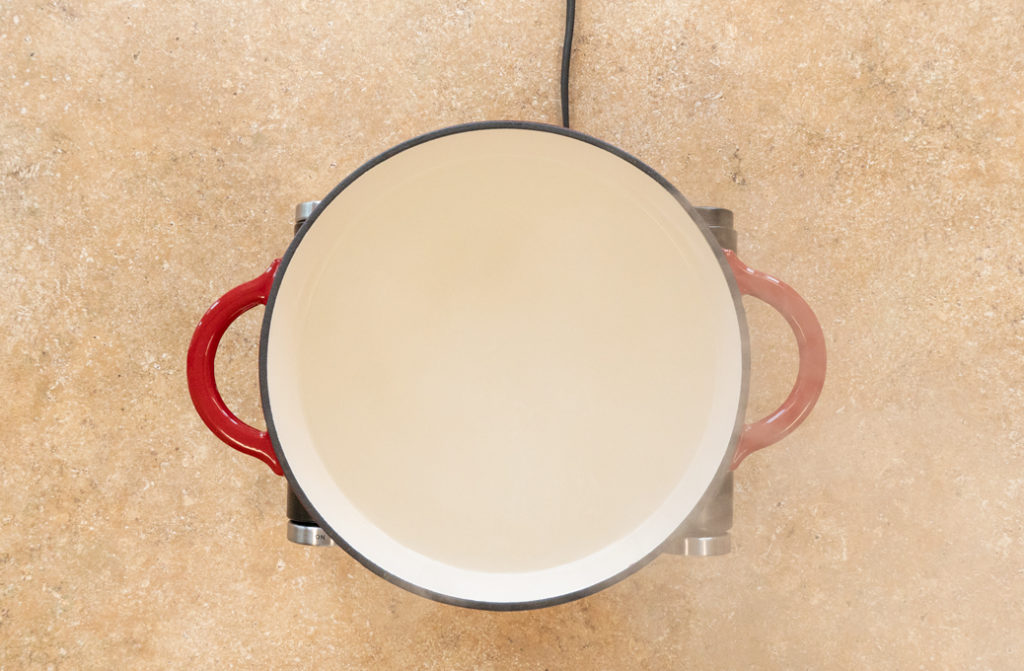
- In a medium pan, bring vinegar and water to a boil.

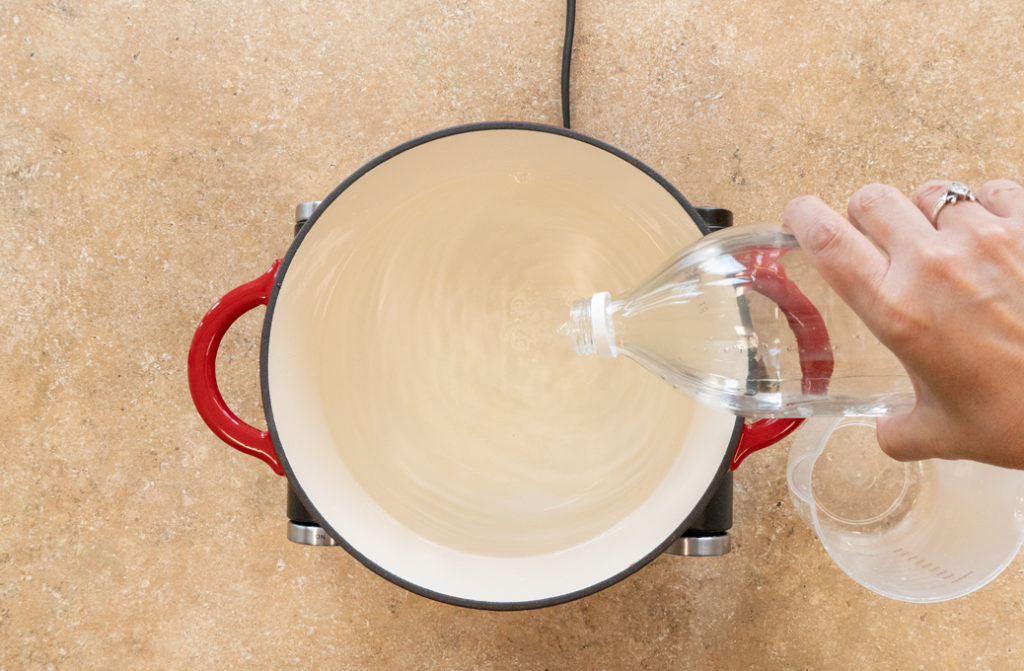
- Use a funnel to pour vinegar mixture over jarred vegetables, covering them completely.
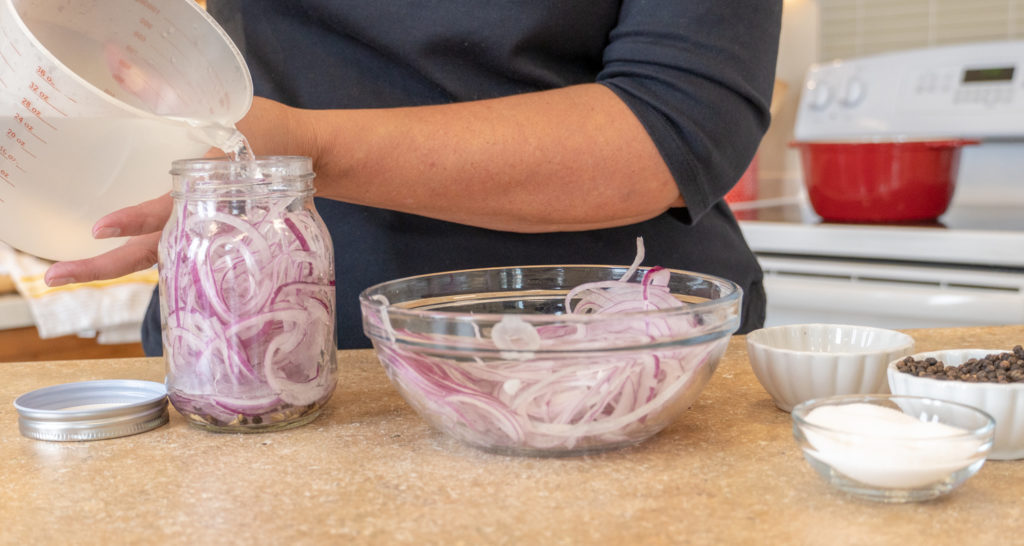
- Gently tap jars to remove any air bubbles; add more vinegar mixture if needed.
- Place lids on jars tightly.
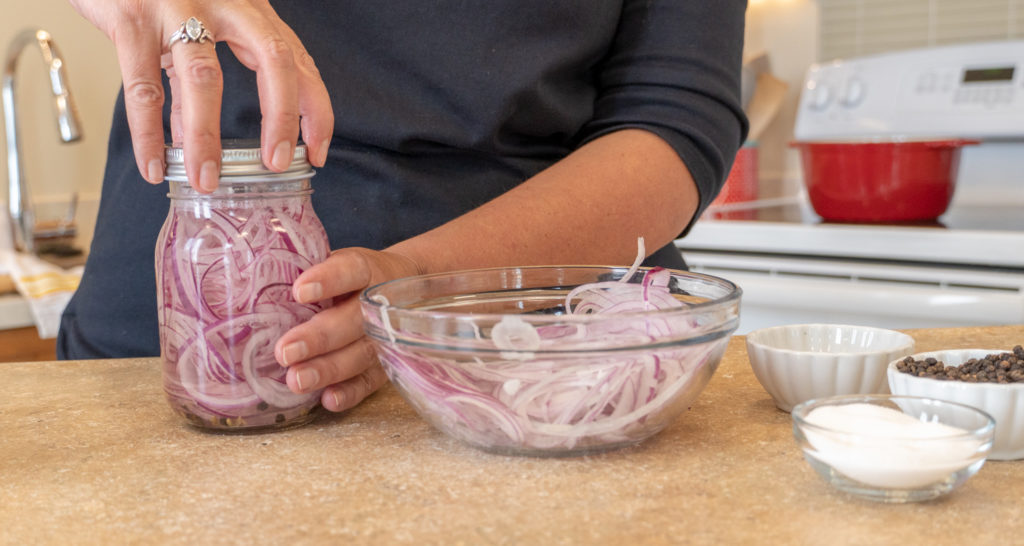
- Let jars cool at room temperature. Store pickles in refrigerator 24-48 hours. The pickles will improve in flavor as they age.
View full recipe: https://potatorolls.com/recipes/quick-pickled-veggies
Watch this recipe in action with this step-by-step video tutorial: https://youtu.be/LhtfcFJjX0c
Pickling Spice Options
Experiment with different spice blends and ingredients to create pickles to suit your unique taste preferences. Here are some classic flavor variations:
- Classic: salt, vinegar, peppercorns, mustard seeds, coriander seeds, dill seed, allspice, bay leaves, red pepper flakes.
- Bread and Butter: kosher salt, white and/or brown sugar, white and/or cider vinegar, mustard seeds, celery seeds, ground turmeric, cloves or allspice (optional).
- Garlic-Dill: apple cider vinegar, pickling salt, smashed garlic cloves, fresh dill, red pepper flakes, mustard seeds, black peppercorns.
Featured Recipes Using Pickled Veggies:
Use your new expertise to try your hand at all sorts of pickled veggies to accompany your favorite recipes! Here are a few classic (and delicious) examples:
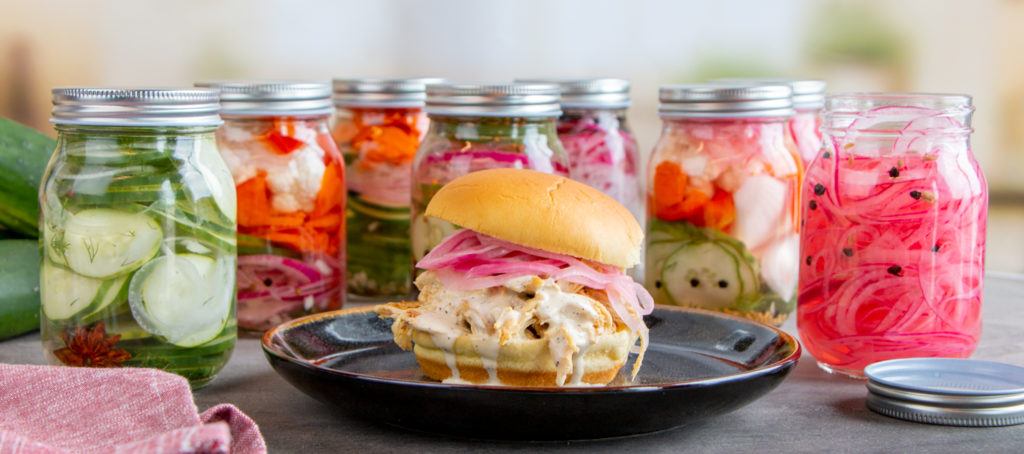
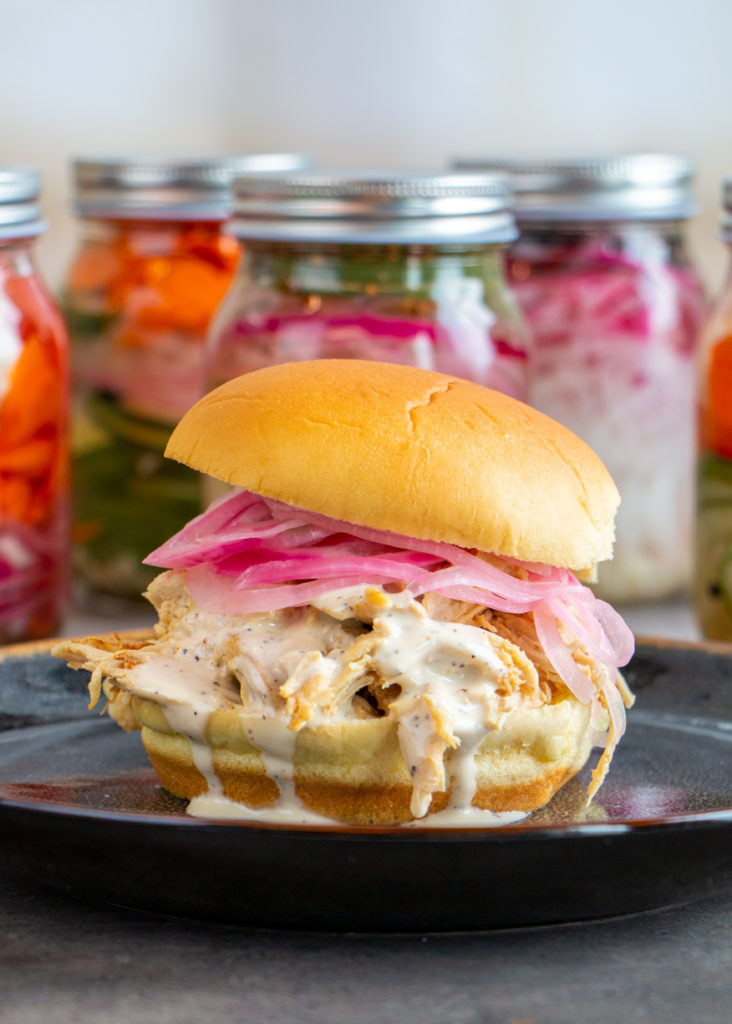
#1: Pulled Chicken Sandwiches with Pickled Onions
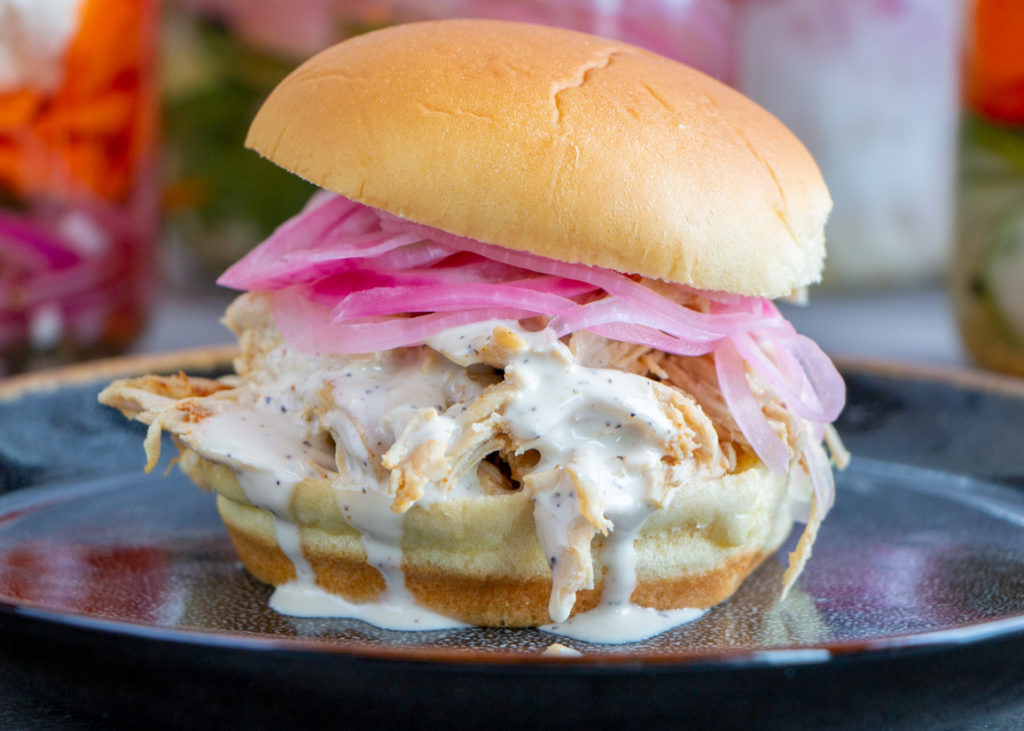
Pickled onions are a classic accompaniment to traditional barbecue. Their tangy, briny flavor helps cut through the richness of savory smoked meats and helps to balance the flavor of the overall meal.
First, pickle red onions in a mixture of white vinegar, water, salt, and sugar, with the optional addition of minced garlic or black peppercorns for added flavor. Serve with your favorite barbecue recipe like this pulled chicken sandwich with Alabama-style white BBQ sauce—a tried and true combo!
#2: Fried Chicken Sliders with Homemade Pickles

There’s just something about crunchy, tart pickles on a fried chicken sandwich that helps to round out the flavor. Recreate this perfect pairing at home using your newfound pickling knowledge.
Soak thinly sliced cucumbers in white vinegar, then add a heated solution of crushed garlic, sugar, salt, and water, and let sit for 30 minutes to allow the flavors to meld. Serve atop hand-breaded and fried chicken breast, tucked into Martin’s Dinner Potato Rolls, with a side of homemade coleslaw.
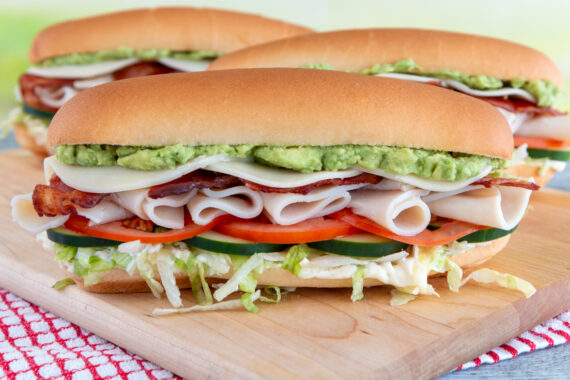
#3: Italian Beef Sandwiches with Pickled Peppers & Giardiniera
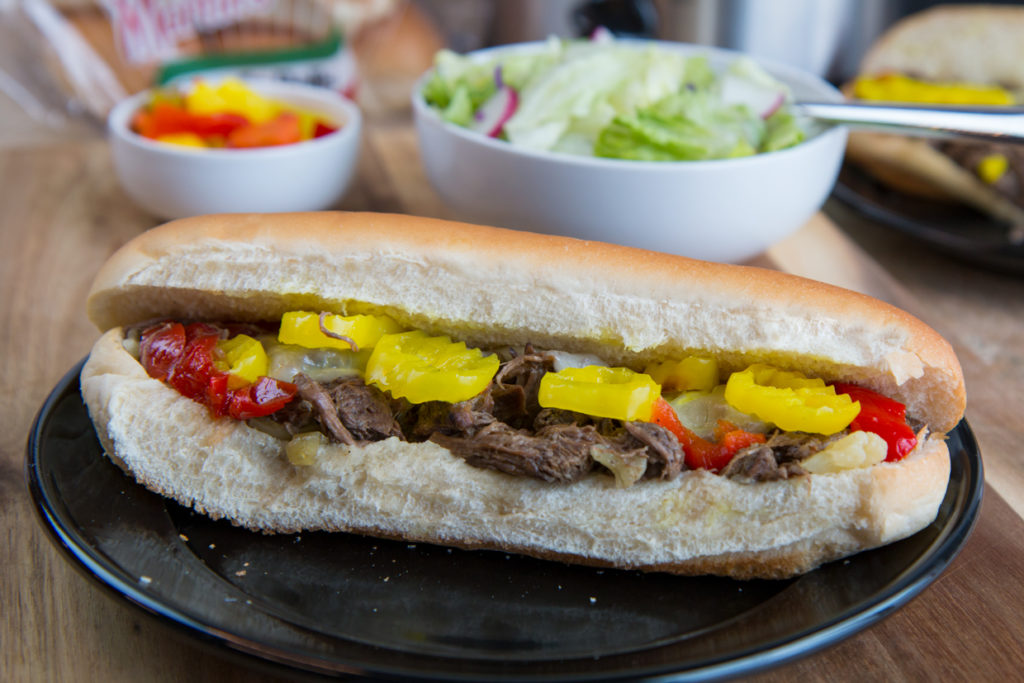
Two pickled ingredients help to make this Chicago favorite: pickled banana peppers, and giardiniera (Italian-style pickled veggies).
Using the same quick-pickling method above, pickle freshly sliced banana peppers or pepperoncini in one jar, and assorted veggies like bell peppers, celery, carrots, cauliflower, and gherkins in another. To the jar of giardiniera, add a mixture of spices such as dried oregano, coriander seeds, yellow mustard seeds, fennel seeds, black peppercorns, red chili flakes (for a hot variation), celery seeds, bay leaf, and garlic cloves. Let both jars set overnight or up to two days prior to preparing the recipe to allow for the flavors to develop.
To prepare the beef, place chuck roast, Italian dressing seasoning, pepperoncini peppers (with juice), giardiniera, and beef broth into a slow cooker and cook until fork-tender (8 hours on low or for 4 hours on high). Serve shredded beef on Martin’s Hoagie Rolls with provolone cheese, topped with extra pepperoncini and giardiniera.
Enjoy!
Related Blog Posts:
Our latest content, delivered straight to your inbox.
Be the first to hear about our newest recipes, tips, and company updates!